
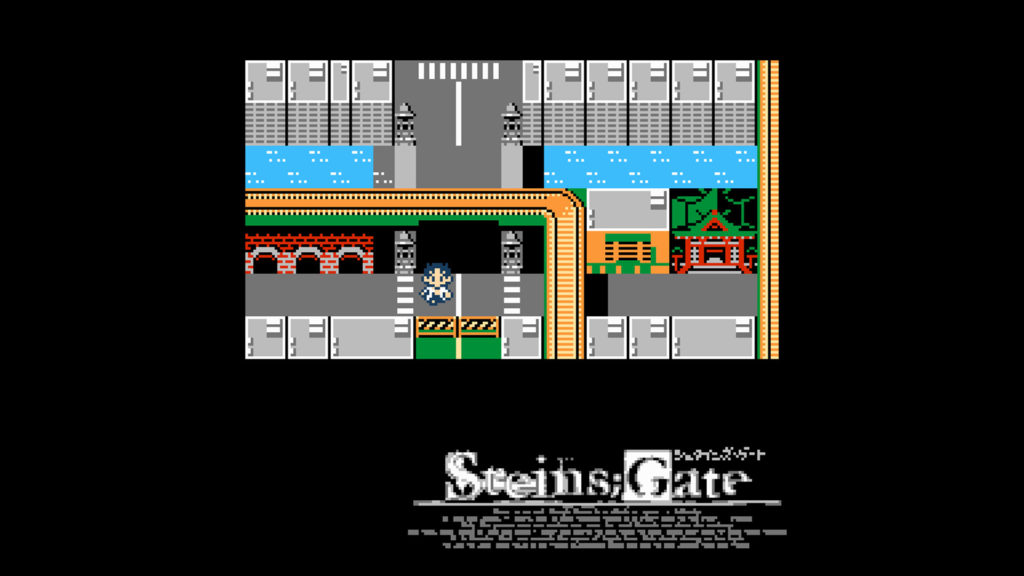
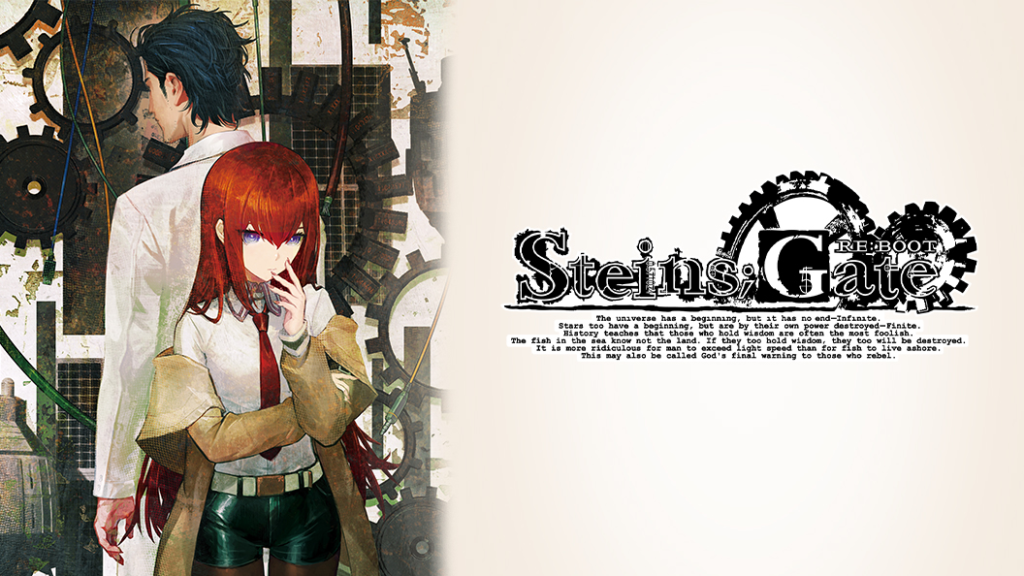
The following is a spoiler-free guide for 8-BIT ADV Steins;Gate. Despite the game being a spinoff of Steins;Gate, it presents a story that is similar to the original game with a few interesting changes. We recommend playing or watching the original Steins;Gate before playing this game.
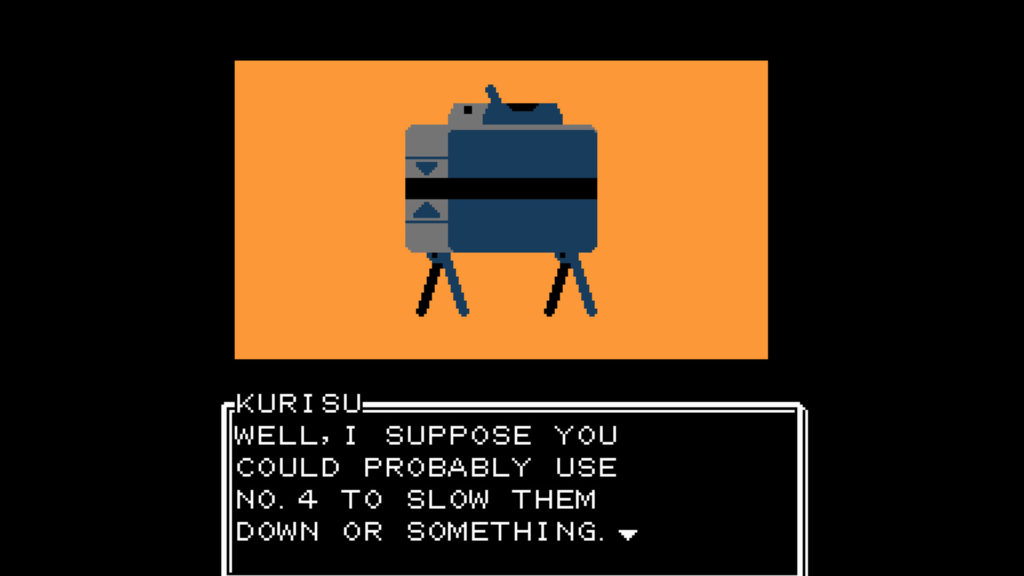
8-BIT ADV Steins;Gate is a game that’s bundled together with copies of Steins;Gate Elite on the Nintendo Switch. It is a retro-styled adventure in the vein of classic NES games from the ’80s. Despite its simplistic exterior, the game can be difficult to play without a guide because it doesn’t allow you to save your progress. The game itself is only two hours long or so, but there are a few sections where you can get a game over and have to start all over from the beginning.
There is a workaround for that, however. 8-BIT ADV is actually an NES ROM running on the Nintendo Switch’s NES emulator. Because of that, it is possible to extract the ROM from your legitimate copy of the game if you have a hacked Switch. If that option is available to you, you can use the ROM with most other NES emulators on PC and use their save state features to “save your game.”
Map
For better orientation in the guide and with the games’ locations, we’ve created a map with marked locations. Some locations don’t have a name in the game, so a few of the below names were made by us. We will be also referencing this map in the guide.
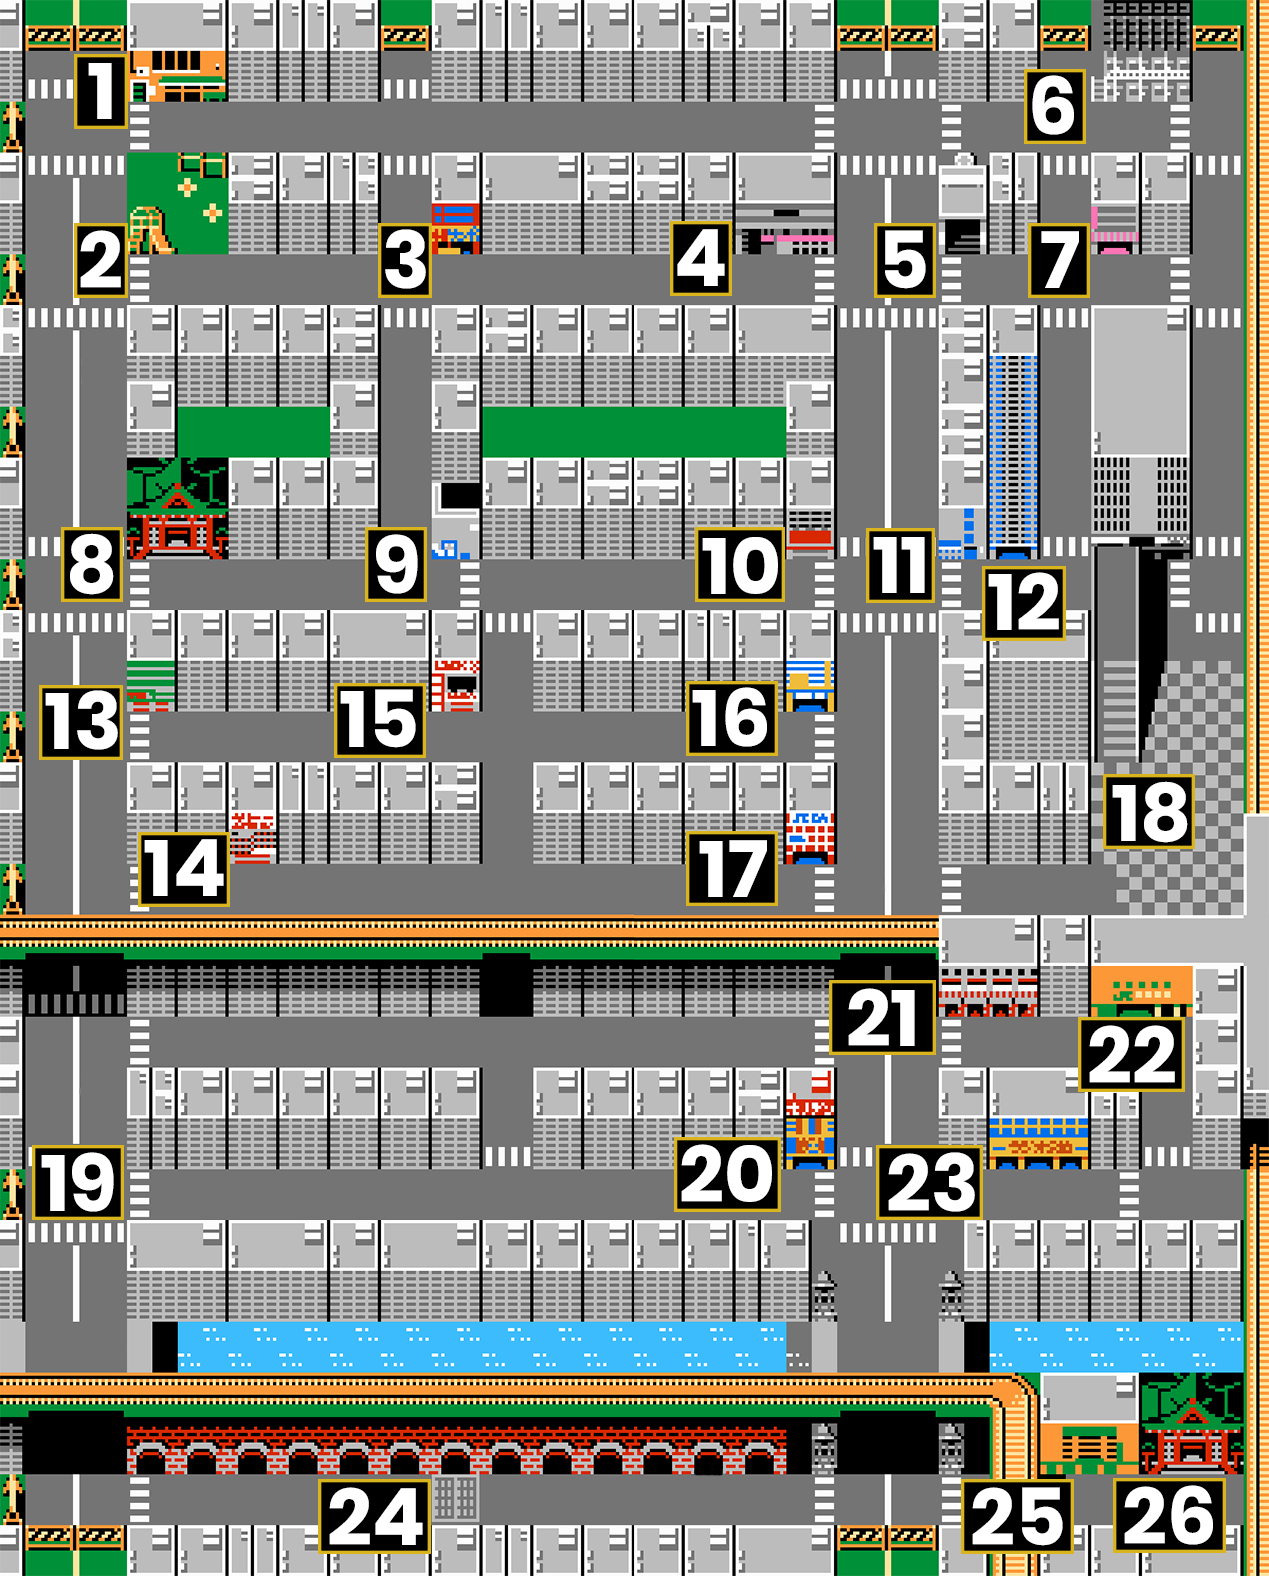
- Lab
- Playground
- Sambo
- MayQueen
- Metro Station
- Moeka’s Apartment
- Cosplay Shop
- Kanda Myojin Shrine
- Stall
- Inaccessible
- Coin Lockers
- Faris’s Apartment
- Inaccessible
- Inaccessible
- Street
- Sofmap
- Arcade
- UPX
- Church*
- Honoden
- Radio Center
- Akihabara Station
- Radi-Kan
- Old Manseibashi Station
- Inaccessible
- Yanabayashi Shrine
*The Church location appears later in the game.
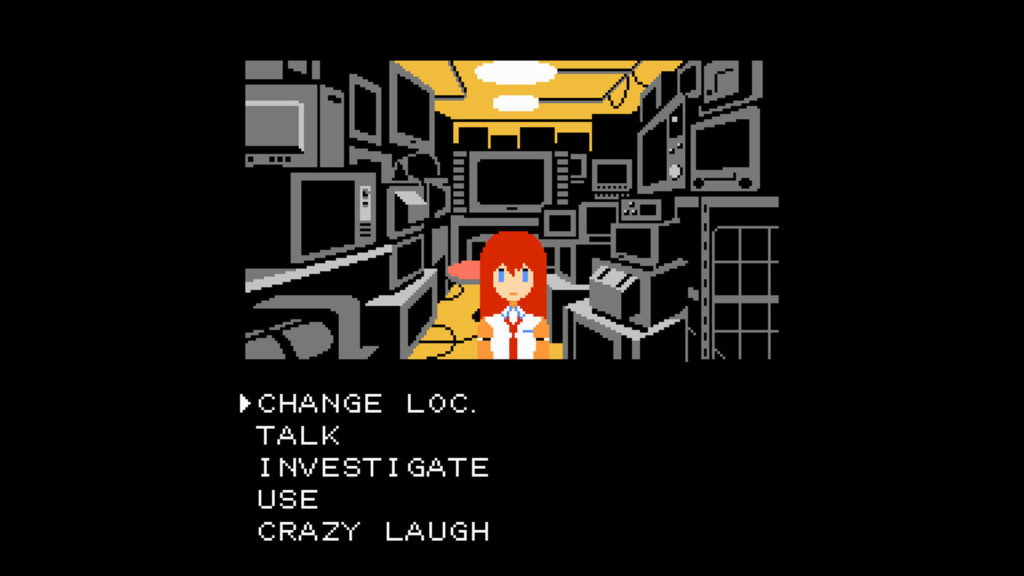
Style Legend
We’ll be using different types of text formatting for each location. All locations will be formatted with bold text, and will also feature a number in brackets as a reference to our map.
Guide
After you get an introduction to the game’s characters and story, you are tasked with finding a Vacuum Tube. First, go to the Radio Center (21) and select Investigate, and then P. Shelf. After that, investigate the P. Case as well. Once you are done, go back outside and head to Radi-Kan (23). At Radi-Kan, select Change Loc., and instead of selecting Go Outside, select Rooftop. On the rooftop, use the New V. Tube.
Return to the Radio Center (21) after you are done on the rooftop, and talk to the employee and Daru. After the dialogue, use your Cell Phone, and then talk to Mayuri and the employee. After talking to everyone, go back outside and go to the Coin Lockers (11), where you’ll want to talk to Faris. Select Crazy Laugh and talk to Faris.
Once you are done talking to Faris, head to the Arcade (17) and talk to Kurisu. Use the New V. Tube. After that, return to the Radio Center (21) and, once again, investigate the P. Shelf and P. Case. Return to the Arcade (17) and talk to Daru, then Kurisu. When you’re done, head to Honoden (20) and talk to Nae. After that, use your Cell Phone to send a message to Tennouji. After that, talk to him in person. Then, head back to the Arcade (17), where you’ll want to talk to Kurisu. Use K’s Luggage, and then use the New V. Tube. Then, return to the rooftop of Radi-Kan (23). There, use the Vacuum Tube.
You have now received a new task: find the Divergence Meter. First, talk to Suzuha and Daru, then go outside and head to the Radio Center (21). Talk to the employee there—then, leave and go to Sofmap (16). Talk to the employee and Mayuri, and after that, head to UPX (18), where you’ll want to talk to Faris. Ater talking to her, head to the Stall (9). Talk to Master, 4°C, and then Suzuha. When you’re done, return to the rooftop of Radi-Kan (23), talk to Daru, and then head to UPX (18). There, investigate the Vending M/C. From it, you’ll receive drinks for Daru. Return to the rooftop of Radi-Kan (23) and use the Cola.
After some dialogue with Daru, return to the Stall (9). Use the Pocket PC, and then talk to Suzuha. Use your Cell Phone, and then use the Pocket PC again. Talk to Suzuha, and when you’re done, head to Kanda Myojin Shrine (8). Over there, talk to Luka, then Suzuha. Once you’re done, head to the Street (15), where you’ll want to talk to “???,” and then Suzuha. Use your Cell Phone after that, and then talk to Luka, then Nakabachi, then Suzuha. You will then unlock the option to go to the Ruins at the Street (15) location, in addition to being able to go outside. Go to the Ruins, where you’ll once again meet 4°C. Talk to him, then head to Kanda Myojin Shrine (8), where you’ll want to talk to 4°C again. When you’re done, return to the rooftop of Radi-Kan (23). Talk to Daru and Suzuha, use the Cola again, and then talk to Daru. Finally, talk to Suzuha once more.
You’ll now be tasked with finding an IBN 5100. First, head to Yanabayashi Shrine (26) and talk to Luka. After that, investigate the Broken M/C, and then use your Cell Phone. Return to the Lab (1), talk to Daru, and then go to Sambo (3) and talk to Kurisu. Go back to the lab and use the PhoneWave. Head to Yanabayashi Shrine (26) and talk to Luka again. After that, go to Sofmap (16), talk to Moeka, and then head to MayQueen (4). There, talk to the maid, and then return to the Lab (1), where you’ll want to use the PhoneWave. Talk to Mayuri while you’re still in the lab, then head out back to MayQueen (4).
At MayQueen (4), talk to Faris, and then go to Faris’s Apartment (12). Investigate the Broken Cab and the Broken Floor. Once you’re done, return to the Lab (1), use the PhoneWave, and go to Faris’s Apartment (12) again. After some dialogue at the apartment, head out and go to the Metro Station (5), and talk to Luka there. Go to Moeka’s Apartment (6), investigate the LG Paperbag, then select Change Loc. and Shady Room. After some dialogue, the scene changes and you are now at the Playground (2). Talk to Kurisu, use your Crazy Laugh, and then go back to the Lab (1). Investigate the room and the PhoneWave, then use your Cell Phone and the PhoneWave. Investigate the room and the PhoneWave until Kurisu talks to you about the CRT workshop.
Select Change Loc., and instead of going outside, select B. Tube Workshop. There, investigate the Store Intr. and the Door. After that, select Change Loc. again and choose Store Intr. There are a bunch of objects to investigate: Store Intr., CRT, Clean Spot, Desk, Album, and Photo. Once you’ve investigated everything, talk to Kurisu, and then leave the workshop. Go to Sofmap (16) and talk to Faris. After that, go near the inaccessible location marked with the number 10 on our map. Near that location, a minitruck appears as a new accessible location. Head there.
At the minitruck, there are a couple of choices you can make. There is an option to investigate the minitruck, as well as an option to go to the minitruck (via the Change Loc. option). Do not go to the minitruck, or you’ll get a game over, and you’ll have to restart the whole game. If you’re playing in an emulator and have save states available to you, you can make use of one to see the bad ending and then reload your game.
To continue the story, investigate the minitruck, then investigate Moeka, and after that, investigate the minitruck again. After that, talk to Kurisu and use your Cell Phone.
Go to the Cosplay Shop (7) and investigate the Store Intr. You then have to talk to the employee and talk to Kurisu two times. This will unlock an option to go to the Staff Room via the Change Loc. option. Once there, use Cosplay and Recorder, then talk to Daru. After a bit of dialogue, go outside and head to the Akihabara Station (5). There, investigate Moeka multiple times, use Recorder, and then select Talk and Recorder. Once you are done there, head to the Old Manseibashi Station (24). The minitruck will appear at that location.
At the Old Manseibashi Station (24), investigate the Minitruck, Alley, Vent, and Vent Cover. This will unlock a new location, “UGD,” that can be reached via the Change Loc. option. Attempt to go there, and then talk to Kurisu twice. Once you’re done talking, return to the Lab (1), and investigate F. Gadget. You can also investigate F. Gadget #4 and talk to Kurisu to get an extra bit of dialogue. When you’re done, head back to the Old Manseibashi Station (24), and from there, go to UGD. Investigate the Door, and a new location unlocks. Select Change Loc. and choose Basement.
Now, you are in the second place where you can get an instant game over if you are not careful. In the basement, talk to Tennouji exactly four times. If you talk to him a fifth time, you will get a game over. Instead, after your fourth dialogue with Tennouji where he tells you that he’s said too much, select Use and select F. Gadget #4 in order to proceed with the game.
When you leave the Old Manseibashi Station, head back to the Lab (1). Over there, talk to Daru, and then talk to Kurisu two times. Once you’re done, use the IBN 5100.
After some dialogue, you will have a new task: to save the world. To do that, first talk to Suzuha, then use the Change Loc. option to go to Storage. There, investigate the Room Intr. multiple times, and then investigate the Hallway. After that, use Change Loc. to return to the Rooftop. Talk to Suzuha multiple times. Leave the rooftop of Radi-Kan and head to the Church (19) that appears as the new accessible location on the main map. In the church, talk to Suzuha and the sister, and then, investigate the Church and the Radio. Talk once more to the sister, and then leave the church and head to Radio Center (21). Talk to the employee, and then head back to the Church (19). Talk to and investigate Kurisu a couple of times until Suzuha mentions that she’s looking at the radio. Then, investigate the Radio, and talk to Kurisu again. Investigate the Radio again when Kurisu leaves, and then talk to Suzuha. Use your Cell Phone, then return to Radio Center (21) and talk once more to the employee. Go back to the Church (19) and use the Vacuum Tube. This will allow you to use the Radio.
Once that’s done, return to Storage at Radi-Kan (23). Talk to Suzuha, investigate the Storage Intr., and then investigate the Hallway twice. Once you’re done, use the Stun Gun. Then, select Change Loc. and go to the C. Room. There, talk to Nakabachi once, use the Radio, and then talk to Nakabachi a few times. You can also investigate the Room for an extra bit of dialogue. The last thing to do is to use your Crazy Laugh.
And with that, you’ve finished the game! Hopefully, you didn’t need to restart the game multiple times due to game overs. Thank you for using this guide!
KKB Community
0 comments